 how-to
Why Use 3D Visualisation for Planning Application Support
Last Updated: 23 October 2026
Quick Summary
3D visualisation supports a planning application by showing case officers and committees how a proposed development will look, sit and feel in its real setting, answering questions on scale, massing, overlooking and light before they are asked. It works alongside architectural drawings, which carry the exact dimensions, so the submission reads as one coherent scheme.
- Model the site and immediate neighbours to accurate heights so the comparison is fair.
- Agree the key viewpoints before rendering, or you produce images of the wrong angles.
- Keep lighting consistent across views, such as a clear midday or specific seasonal sun angle.
- Match the model to the drawings, because mismatched heights make everything built on them suspect.
- Show the scheme honestly, including its weaker angles, as a truthful model is more persuasive.
Table of Contents
- Why 3D Visualisation Changes How Planning Applications Are Assessed
- Planning Application Visuals That Answer the Questions Councils Actually Ask
- 3D Renders for Planning Applications: What They Show That Drawings Cannot
- How Architectural Drawings for Planning Applications Work Alongside 3D Models
- 3D Modelling for Proposed Developments: The Step-by-Step Process
- Common Mistakes That Weaken 3D Visualisation in a Planning Submission
- Frequently Asked Questions
Why 3D Visualisation Changes How Planning Applications Are Assessed
A planning application is a test of confidence. Case officers must picture a building that does not exist yet, and they must decide whether it belongs. When that picture is unclear, doubt creeps in, and doubt usually means refusal or a long round of conditions.
This guide from Solvers Architecture Ltd explains why 3D visualisation has become central to planning application support. 3D visualisation is the use of computer-generated three-dimensional models and images to show how a proposed development will look, sit and feel in its real setting. It turns a flat drawing into something a decision-maker can read at a glance.
Planning application visuals matter because they answer questions before they are asked. A clear model shows scale, massing and overlooking in seconds. A set of lines on paper often needs a paragraph of explanation.
Below, we break down what councils actually respond to, where 3D renders for planning applications beat drawings, and how the whole process runs from survey to submission.
Planning Application Visuals That Answer the Questions Councils Actually Ask
Case officers and planning committees ask the same handful of questions on almost every scheme. Your visuals should answer them without anyone having to hunt.
The most common concerns are:
- How tall is it next to the neighbours?
- Will it block light or views?
- Can the street still be read as it is now?
- What will it look like from the main road or footpath?
- Does the massing fit the plot and the surrounding pattern?
A good visual pack puts these answers on one page. A context view shows the scheme in its street scene, with neighbouring buildings drawn to scale. A view from an upstairs window opposite shows the actual impact on outlook. A roof-level view shows how the new volume sits under the existing roofline.
Councils also assess design quality against local and national policy. The National Planning Policy Framework sets out that good design is a core part of the planning system, and that decisions should reflect the character of the area. Visuals are how you prove that character has been respected.
3D Renders for Planning Applications: What They Show That Drawings Cannot
Drawings describe a building. Renders let someone experience it. That difference decides cases.
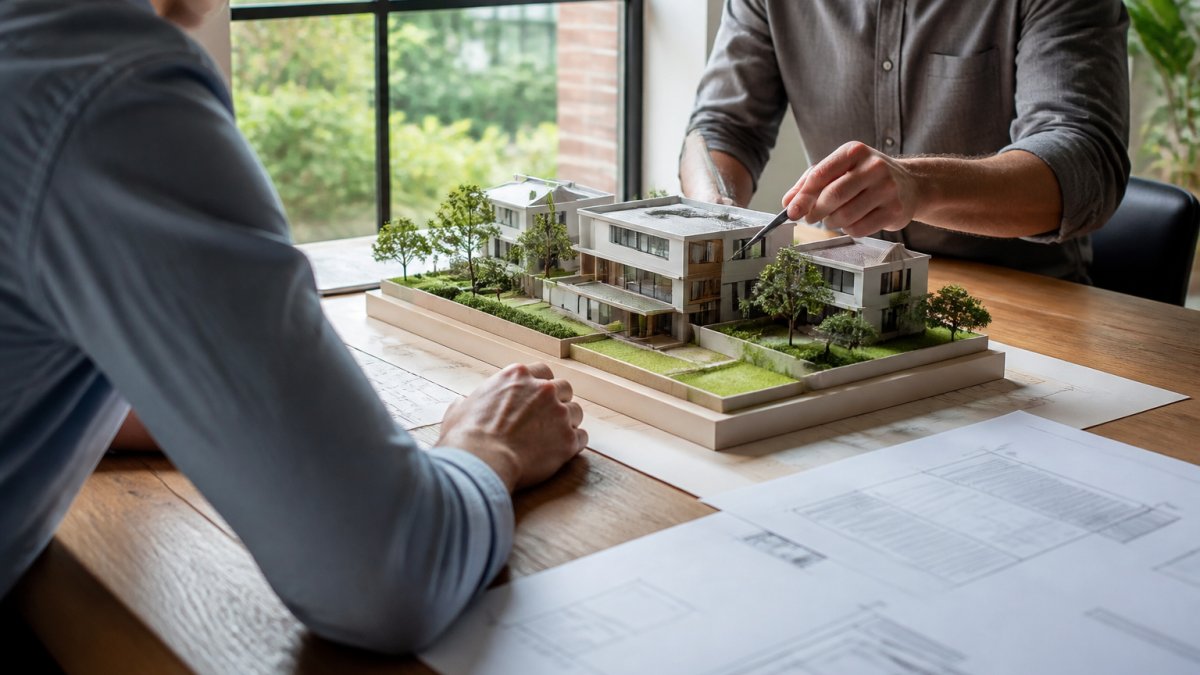
A 2D elevation is precise, but it flattens depth, shadow and material. A 3D render for planning applications shows how the scheme sits in three dimensions. That includes the way a first-floor extension casts shade across a garden in the afternoon, or how a change of use alters the look of a shopfront.
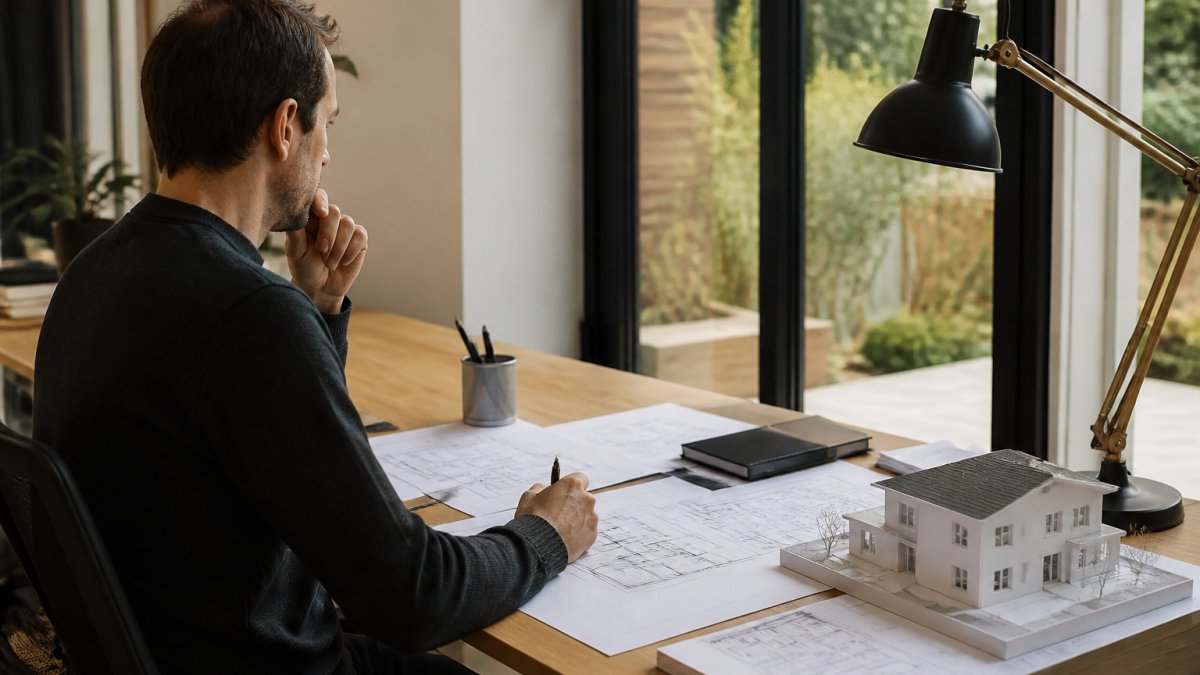
Here is what a render delivers that a drawing cannot:
- Massing in context. You see the bulk of the building against its neighbours.
- Light and shadow. You see which windows and gardens are affected.
- Materials and finish. You see brick, render or cladding as a whole, not as a key.
- Eye-level experience. You see what a pedestrian or resident actually sees.
What most guides miss is that renders are not there to look pretty. They are evidence. A clear, honest render builds trust with the case officer. An over-polished one that hides a problem does the opposite.
How Architectural Drawings for Planning Applications Work Alongside 3D Models
Architectural drawings for planning applications do not get replaced by 3D models. The two work as a pair, and each does a job the other cannot.
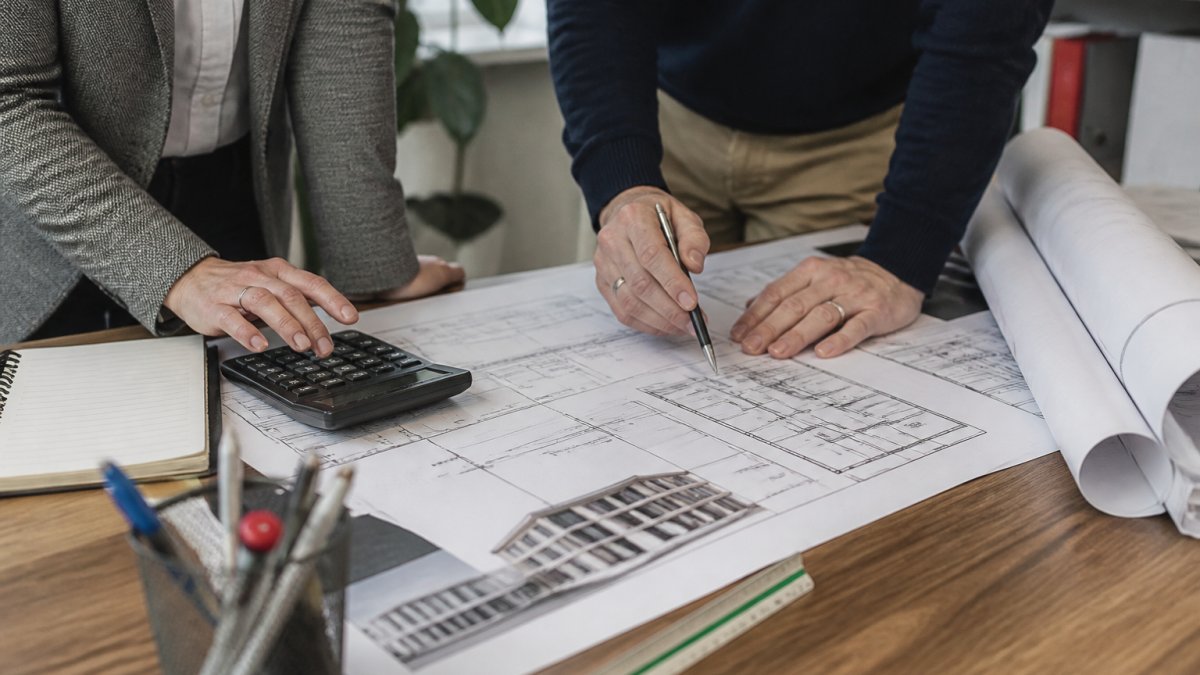
The drawings carry the hard facts. Floor plans, sections and elevations show dimensions, room sizes, levels and construction intent. They are the legal record of what is proposed. The 3D model carries the interpretation. It shows how those facts combine into a real building in a real place.
A practical split looks like this:
| Element | What it proves | Best used for |
|---|---|---|
| Floor plans and sections | Exact dimensions and layout | The technical core of the application |
| Elevations | External appearance and heights | Showing scale against policy limits |
| 3D model and renders | Context, light, massing, materials | Design and access statements and committee packs |
| Site and block plans | Boundaries and access | Confirming the red line and setting |
When the drawings and the model match, the submission reads as one coherent scheme. When they drift apart, the case officer spots it, and confidence drops. That is why we build the model from the same base information as the drawings, not as a separate exercise.
3D Modelling for Proposed Developments: The Step-by-Step Process
3D modelling for proposed developments follows a steady sequence. Skipping a step usually means redoing work later, so the order matters.
Step 1: Gather the base information. Collect the measured survey, site levels, existing drawings and any topographical data. The model is only as good as this foundation.
Step 2: Build the existing context. Model the site and its immediate neighbours to accurate heights. This is what makes the comparison fair.
Step 3: Model the proposal. Build the new scheme in three dimensions from the approved design. Check it against the drawings at every stage.
Step 4: Set the viewpoints. Agree the key views, usually the street scene, the nearest affected neighbour and the main approach. These are the views that answer the council's questions.
Step 5: Apply materials and lighting. Use realistic materials and a consistent light setting, such as a clear midday or a specific seasonal sun angle, so results are comparable.
Step 6: Produce and review the outputs. Render the agreed views, then check them for accuracy. Compare each render against the drawings and the site photos before anything goes out.
Common Mistakes That Weaken 3D Visualisation in a Planning Submission
Most weak submissions fail for the same few reasons. None of them are about software skill.
The biggest mistake is a model that flatters the scheme. If the render shows a sunny day, hides the neighbouring wall and crops out the awkward angle, it will be challenged. Councils are used to this, and it damages trust fast.
Other frequent problems:
- Wrong heights. If the model does not match the drawings, everything built on it is suspect.
- No context. A render of the building alone tells the council nothing about impact.
- Inconsistent lighting. Different sun angles across views make comparison impossible.
- Missing viewpoints. The views that matter to neighbours are left out.
- Over-rendering. Glossy images can look like marketing, not evidence.
In practice, the fix is discipline. Agree the views, match the drawings, keep the lighting consistent, and show the scheme honestly, including its weaker angles. A truthful model is far more persuasive than a flattering one.
At Solvers Architecture Ltd, planning-led consultancy means the visuals are built to answer planning questions from the start, not added at the end. Our teams in Leicester, Manchester and London work this way on residential and commercial schemes alike, from planning permission through to building regulations.
A planning submission succeeds when the council can see, clearly and honestly, what is being proposed. If your visuals leave room for doubt, that doubt becomes the decision. Solvers Architecture Ltd combines creative design with practical, planning-led expertise, so your scheme is shown accurately and backed by drawings that stand up to scrutiny. We offer planning permission support, building regulations drawings and full council submission as one joined-up service. Book a free consultation with Solvers Architecture Ltd and turn your proposal into a submission the council can approve with confidence.
Frequently Asked Questions
Does a planning application need 3D visuals?
Not strictly. Many householder applications are decided on architectural drawings alone. But 3D visualisation becomes valuable when a proposal is hard to read in two dimensions: an extension onto a sloping site, a loft conversion with a complex roof, or a scheme where overlooking and daylight are likely to be raised. Visuals give planning officers and neighbours a clear picture of what is proposed, which can reduce back-and-forth queries and the risk of a refusal based on misunderstanding rather than design quality.
What is the difference between a 3D visualisation and an architectural drawing?
Architectural drawings for planning applications are measured, scaled, two-dimensional documents: plans, elevations, sections and site layouts. They are the formal record of what is being built and are assessed against policy. A 3D visualisation is a perspective view built from that same model. It shows materials, massing, height against neighbouring buildings and how the scheme sits in its surroundings. The drawings prove the dimensions; the 3D renders show what the result will actually look like from street level or a neighbouring window.
How accurate do planning application visuals need to be?
Accurate enough that a planning officer can rely on them. That means modelling from the measured survey, using correct ridge heights and eaves levels, and matching materials to the specification. 3D renders for planning applications should be honest about scale and context, including existing trees, boundary walls and adjacent buildings. Overly flattering camera angles or exaggerated planting undermine trust and can lead to a validation query or a request for corrected images, which slows the application down.
When should 3D visualisations be prepared for a planning application?
Early, ideally before submission. Preparing 3D modelling for proposed developments at design stage lets you test massing and height against the site before drawings are finalised, so problems are fixed on screen rather than in a refusal. Where a scheme is contentious, a pre-application discussion with visuals in hand often surfaces the council's concerns sooner. Building the model once and reusing it for planning, Building Regulations and marketing also avoids paying for the same work twice.